
Last updated November 15, 2026
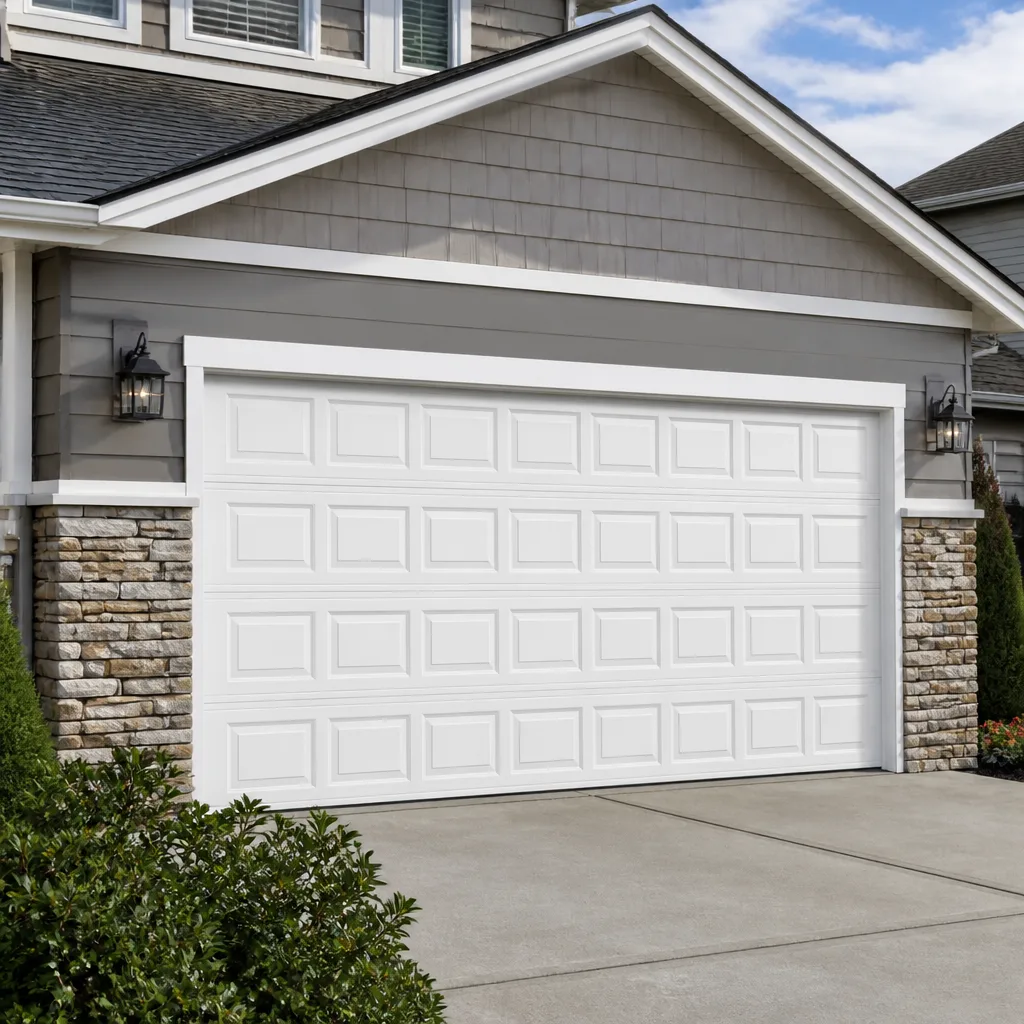 Raised-panel steel
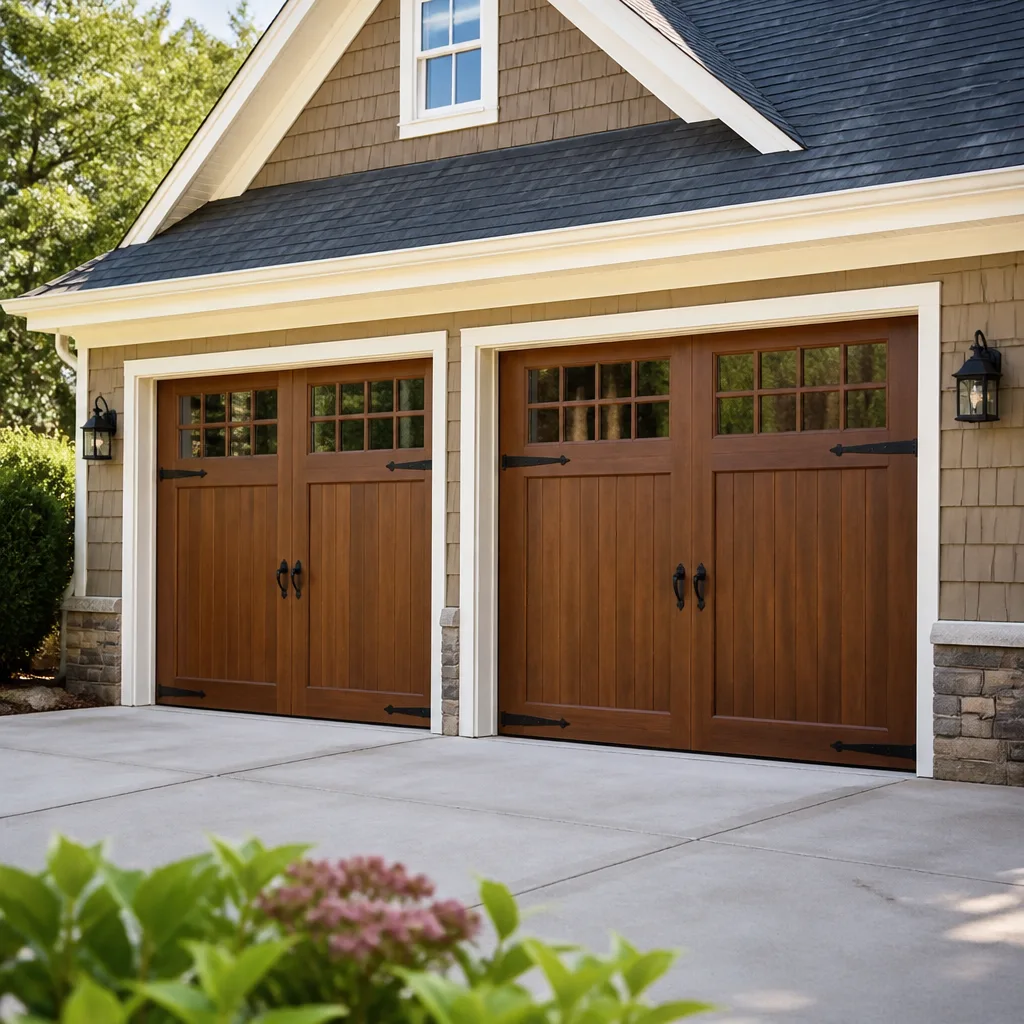 Carriage house
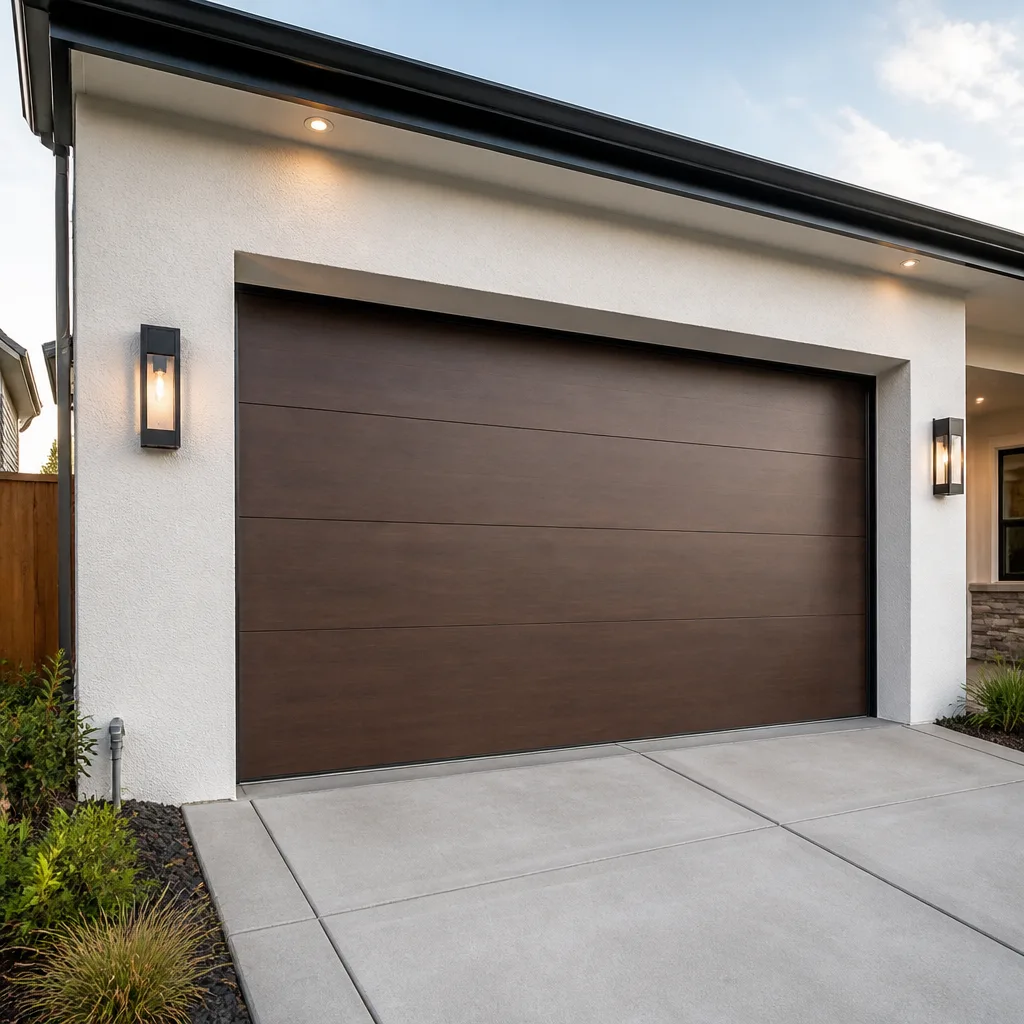 Modern flush
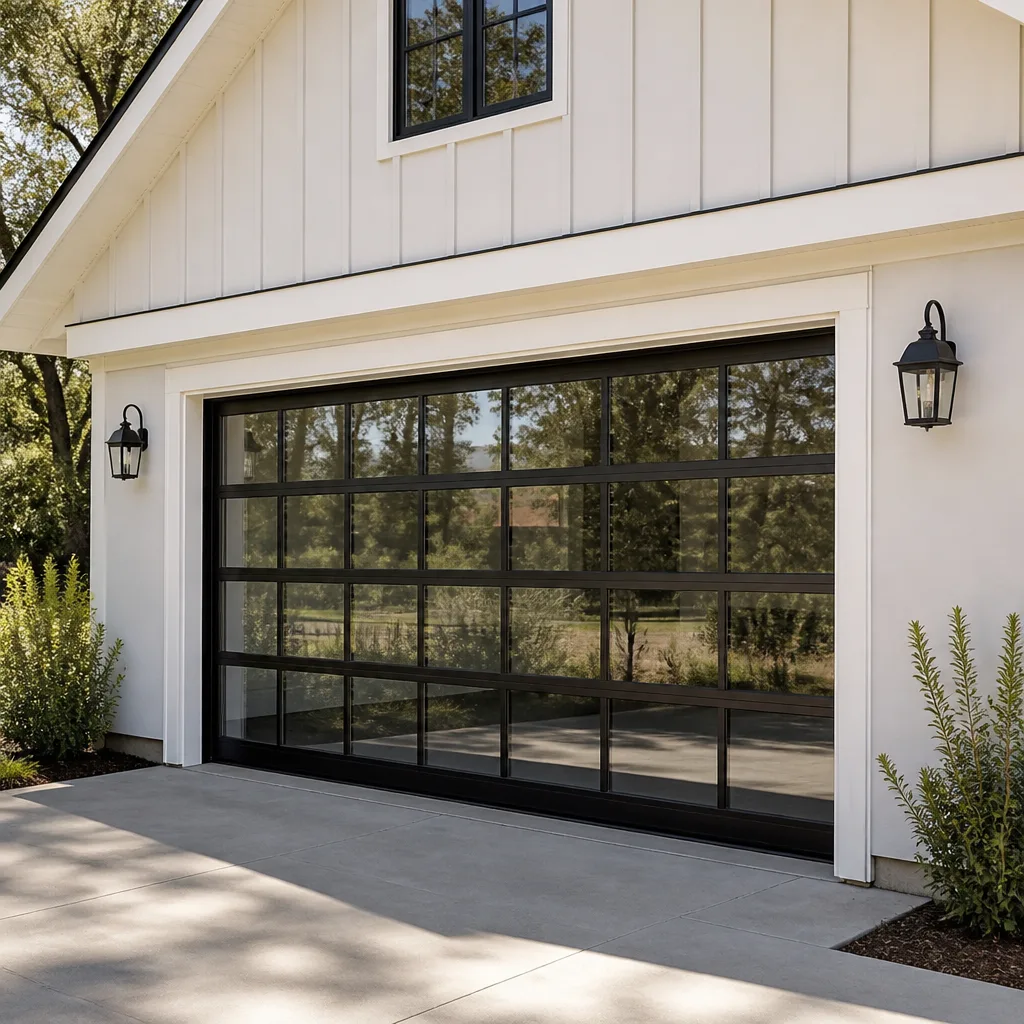 Full-view glass
 LiftMaster openers
 Chamberlain openers
Full 25-point door and opener safety check with every visit - springs, cables, rollers, tracks, and your LiftMaster or Chamberlain opener included
You get a price before we start. It does not change when the pro arrives.
Get your free estimateGarage Door Emergency Preparedness Guide for Minneapolis Homes
Most Minneapolis homeowners think about their garage door exactly once – the moment it stops working. That’s backward. The emergencies that strand cars and leave homes open to the cold don’t come out of nowhere. They build during the first hard freeze, the first ice storm, the first power outage of the season, and they hit hardest on the coldest nights of the year. The unusual part? Nearly all of them can be softened, or avoided outright, with about 30 minutes of preparation done in October before the cold settles in. This guide walks through the manual override sequence, cold-snap protocols, storm checks, an emergency information card, and the small parts worth keeping in a bin. It’s written for the way doors actually fail in Minneapolis.
Quick Answer
A garage door emergency in Minneapolis is almost always one of four things: a door frozen to the slab, a broken spring, a dead opener or power outage, or wind and ice damage to the panels and tracks. The single most useful prep step is treating the bottom seal and threshold before the first freeze, and the second most useful is knowing exactly how to disengage the opener by hand without bending the trolley. Keep the phone number for Parkway Garage Door Repair posted inside the garage and you’ll never have to search for it in the cold.
Styles & brands we work with
- Raised-panel steel
- Carriage house
- Modern flush
- Full-view glass
- LiftMaster openers
- Chamberlain openers
Table of Contents
- Why Minneapolis Doors Fail in Predictable Patterns
- How to Open Your Garage Door During a Power Outage
- Cold-Snap Protocol: What to Do When the Door Won’t Open at -20°F
- Storm Preparedness: What to Check After Wind or Ice
- The Emergency Information Card to Keep in the Garage
- Parts Worth Keeping on Hand
- The October Prep Routine
- When to Call a Professional
Why Minneapolis Doors Fail in Predictable Patterns
Minneapolis garage doors live a harder life than doors in most of the country. The temperature swings alone are brutal – a door can sit at 40°F in the afternoon and drop to -15°F overnight, and every one of those swings works the steel, the springs, and the seals a little harder. The result isn’t random failure. It’s seasonal clustering, and once you understand the clusters you can prepare for them instead of being surprised.
Here’s what we’ve seen across the Minneapolis neighborhoods where we work, from the older homes around Powderhorn and Longfellow to the newer builds out toward Camden and Nokomis:
- First hard freeze (late October to mid-November): Doors freeze to the slab. The bottom rubber seal bonds to ice and the opener strains or the safety reverse trips.
- Deep cold snaps (January and February): Springs lose tension, opener gears get stiff, and the door’s balance shifts, so the opener has to work harder than it was designed for.
- Ice and wind storms (anywhere from November to April): Panels dent, tracks bend, and the door can come off its rollers or jam at an angle.
- Power outages (year-round, but worst in winter storms): The opener is dead and the homeowner has to disengage it by hand, usually for the first time, often in the dark.
None of these are exotic. They’re the standard failure modes for a cold-climate door, and each one has a preparation step that takes minutes. The rest of this guide is built around that idea: prepare for the pattern, not for a specific incident.
How to Open Your Garage Door During a Power Outage
This is the emergency that catches the most people off guard, and it’s the one where doing the wrong thing can damage the opener. The good news: every residential opener has a manual release, and the correct sequence is simple if you know it before you need it.
Before anything else, understand what the release does. The red pull cord (or handle) on the trolley disengages the door from the opener’s carriage so you can move it by hand. It doesn’t “unlock” the door. If the door is badly out of balance, disengaging it will make it feel heavy, and pulling it wrong can warp the rail or bend the trolley arm.
The correct sequence
- Make sure no one is under the door. Confirm the area is clear before you pull anything.
- Pull the release cord straight down and slightly toward the door. You should hear or feel a click as the trolley disengages. Don’t yank at an angle and don’t pull it sideways.
- Lift the door slowly and evenly by the bottom handle. If it’s well balanced it should move with moderate effort. If it feels dangerously heavy or binds, stop and don’t force it.
- Prop it open if you need it to stay up. A door that’s disengaged from the opener has no hold, so use a sturdy prop or secure it before you walk away.
- When power returns, re-engage the door carefully. With the door fully closed, pull the release again or follow the opener’s manual re-engage procedure, then run the opener through one full open-and-close cycle to confirm it catches.
If your opener is a LiftMaster, Chamberlain, Genie, or Craftsman – the brands we work on most – the release mechanism is essentially the same. But the re-engage step varies slightly by model. When in doubt, the owner’s manual is the source of truth, and if you can’t find it, our team can confirm the sequence for your specific opener. If a technician is coming, put a note on the door saying it’s disengaged so they know before they press the button.
Cold-Snap Protocol: What to Do When the Door Won’t Open at -20°F
When the temperature drops to -20°F and the door won’t budge, the instinct is to hit the button again and again or to force it. Don’t. Cold-snap door failures almost always have one of three causes, and forcing the door makes each one worse. Work through this in order.
Step 1: Check whether the door is frozen to the slab
If the door lifts an inch and then hangs or grinds, the bottom seal has frozen to the concrete or ice has built up under the threshold. The fix is warmth and time, not force. Pour warm (not boiling) water along the bottom seal line and wait a few minutes, then try again gently. Never use a heat gun, torch, or boiling water – you’ll crack the seal or the panel.
Step 2: Check the safety reverse photo-eye
If the door starts to close and reverses immediately, the most likely culprit is a misaligned or frosted photo-eye. Wipe it clear with a cloth and check that the small indicator light on each sensor is solid. This catches a huge share of winter “the door won’t close” calls.
Step 3: Check the opener itself
If the opener hums but doesn’t move the door, or the door moves with a grinding sound, the issue is mechanical or electrical, not the door. That’s a job for a technician – the opener is a motorized system with springs, gears, and a control board, and a homeowner shouldn’t take it apart in the cold.
Step 4: If the door opens but sounds wrong
Stiff springs and cold grease can make a door that still works sound terrible. This isn’t a “call right now” emergency, but it is a warning. A stiff door wears out its springs and opener faster, and it’s worth getting checked before the next hard freeze. If the door is also unbalanced (it wants to fall or shoot up), stop using it and call.
A safety note worth repeating: torsion springs store enormous energy. A door that suddenly won’t lift or slams down hard may have a broken or failing spring, and touching one under tension can cause serious injury. That’s one of the few places where a trained professional should handle it, no exceptions.
Storm Preparedness: What to Check After Wind or Ice
After a significant wind or ice storm in Minneapolis, give the door a walkaround before you run it up and down. Ice storms are the sneakier of the two – the damage is often invisible from inside, and running the opener first thing can turn a small dent into a bent track.
A post-storm check in five minutes
- Look at the panels from outside. Note any dents, creases, or gaps along the seams. A single bent panel can pull the door out of square.
- Check the tracks. Run your eyes from floor to ceiling along both vertical tracks. Look for bowing, dents, or ice packed into the curve at the top. A bent track is a serious problem – it can derail the door.
- Check the weather seal and bottom rubber. If it’s torn or hanging, the door will leak cold air and ice will creep in under the threshold at the next freeze.
- Check the photo-eye and any exterior sensors. Clean off ice, snow, or debris so the safety system works.
- Listen before you run it. With the power on, listen to the opener for a few seconds before pressing the button or watch it cycle once. A grinding or popping sound means stop and call.
- Check the balance. Disconnect the opener (carefully, per the method above) and lift the door to about waist height. It should stay put. If it falls or shoots up, the springs need attention.
One storm-damage flag that homeowners often miss: a door that looks fine but has changed its “hang.” If it used to sit flush against the slab and now has a small gap on one corner, the panel or track has moved. That’s an adjustment, not a replacement – but it’s worth having a professional check before it gets worse.
The Emergency Information Card to Keep in the Garage
When the door fails, the last thing anyone wants to do is hunt through a drawer for a manual or scroll a phone with gloves on. A simple laminated card taped inside the garage, next to the opener or the door into the house, solves that in one go. Here’s what it should include.
What goes on the card
- The manual override location – the red release cord or handle, its position, and which way to pull. A sketch or photo is even better.
- Spring type – torsion (the horizontal spring above the door, on a shaft) or extension (springs running along the horizontal tracks). This tells a technician what parts to have ready.
- Opener brand and model – LiftMaster, Chamberlain, Genie, and Craftsman are the most common in Minneapolis homes, but the model number is what matters, usually on a label on the motor housing or the arm.
- Door brand, if known – Clopay and Amarr are common on newer builds; knowing it helps with panel and seal replacement.
- Service phone number – (855) 213-4171 for Parkway Garage Door Repair. We answer 24/7.
- Photograph of the door and opener – a phone photo of the whole assembly is worth more than three paragraphs of description.
Take ten minutes to make the card while the door works and the light is good. The value isn’t in the card itself – it’s in the two minutes you save during a power outage or a cold snap when you’re not sure what to do.
Parts Worth Keeping on Hand
Most garage door repairs require a technician and the right replacement parts, but there are a few inexpensive components worth keeping in a small bin so a repair can be finished in one visit rather than two. This is one of the areas where the brand you have matters – a Genie opener takes different parts than a Chamberlain, and a Clopay door takes different seals than an Amarr. Here’s what’s worth keeping.
- Spare bottom weather seal – the rubber strip along the bottom of the door. It’s the part that freezes to the slab most often, and a spare lets the technician swap it out without a second trip.
- Replacement photo-eye pair (if compatible) – a fresh set of safety sensors that matches your opener is the fastest fix for a door that won’t close. It’s worth asking which model fits yours.
- A spare opener remote or a programmed keypad backup – not a repair part, but it saves a call when one fails or gets lost.
- Owner’s manual or model number printout – helps the technician source the right parts the first time.
Don’t buy springs or torsion parts for the bin. Springs are matched to door weight and cycle life, so the wrong one is a hazard, not a spare. Leave that to the professionals.
The October Prep Routine
Thirty minutes in October pays back all winter. Here’s the routine, in order, so you can do it once and forget it.
- Clean and inspect the bottom seal. Wipe it down and check for cracks or tears. Replace it if it’s worn – a new seal is inexpensive and keeps ice from creeping under the door.
- Treat the threshold. A light coat of a silicone-based lubricant on the bottom rubber and the door’s bottom edge helps keep it from bonding to the concrete when it freezes. Don’t use petroleum grease – it degrades the rubber.
- Lubricate the moving parts. Wipe the tracks clean and apply a light lubricant to the rollers, hinges, and the spring (not the track’s floor). This cuts the stiffness that makes the opener work harder.
- Test the safety reverse and photo-eye. Put an object in the door’s path and confirm it reverses. Wipe the photo-eye lenses.
- Check the balance. Disengage the opener (carefully) and lift the door to waist height. It should hold. If it doesn’t, the springs need service before the cold.
- Update the emergency card. Any changes to the opener, door, or phone number get noted on the card.
- Stock the parts bin. Add a spare seal and confirm the photo-eye replacement if you keep one.
Do this once a year, ideally before the first hard freeze. It won’t stop every problem, but it removes the most common ones and makes the ones that remain easier to fix. If something in the routine looks wrong – a bent track, a door that won’t balance, a spring that looks damaged – that’s the moment to call.
Common Mistakes to Avoid
- Yanking the manual release at an angle. Pulling the cord sideways or with force can bend the trolley arm or damage the rail. Pull straight down, slowly, toward the door.
- Forcing a frozen door open. A door frozen to the slab that’s forced will tear the bottom seal, bend the bottom panel, or strip the opener. Warm the seal and wait instead.
- Retrying the opener over and over. If the opener hums but doesn’t move the door, repeated attempts can overheat the motor and make the eventual repair bigger.
- Running the door after a wind storm without checking the tracks. A bent track plus an opener run equals a door off its rollers. Do the five-minute walkaround first.
- Buying springs yourself. Springs are matched to the door’s weight, and an incorrect spring is a serious safety hazard. Leave spring work to a technician.
- Skipping the October seal check. It’s the single most common cause of winter door failures in Minneapolis, and it’s also the easiest thing to prevent.
- Not knowing the opener brand and model. It’s the difference between a one-visit repair and a two-visit repair. Write it on the card.
When to Call a Professional
Some garage door failures are dangerous or system-level, and no amount of prep replaces a trained technician. Call a professional if: a spring is broken or looks damaged (never touch a torsion spring under tension); the door comes off its track or hangs at an angle; the door slams down or won’t stay balanced; the opener hums without moving the door; the photo-eye system won’t hold through a full cycle; a panel is bent or a track is bowed; or the door won’t close and you can’t identify why. Also call if you simply aren’t sure what’s wrong – diagnosing an opener or door issue by trial and error usually makes it worse.
Our team works on whatever brand and system is already on your home, and we’re fluent across the most widely installed residential brands – LiftMaster, Chamberlain, Genie, Clopay, Amarr, Wayne Dalton, Craftsman, and Raynor. That means a technician arrives already familiar with your opener or door, can source the right parts, and can complete most repairs in one visit. Our technicians have up to 8 years of experience, and the estimate is free.
If you’re not sure whether your issue is a repair or a replacement, we’ll tell you honestly. Repair first, replace only when it makes sense. One call covers the door and the opener, so you won’t get bounced to a second company mid-job. Parkway Garage Door Repair offers free estimates in Minneapolis – call (855) 213-4171. We answer 24/7. Fast dispatch from 7am to 7pm, Sunday through Friday. For scheduled repairs, see our garage door repair page, or if the opener is the problem, our garage door opener repair page.
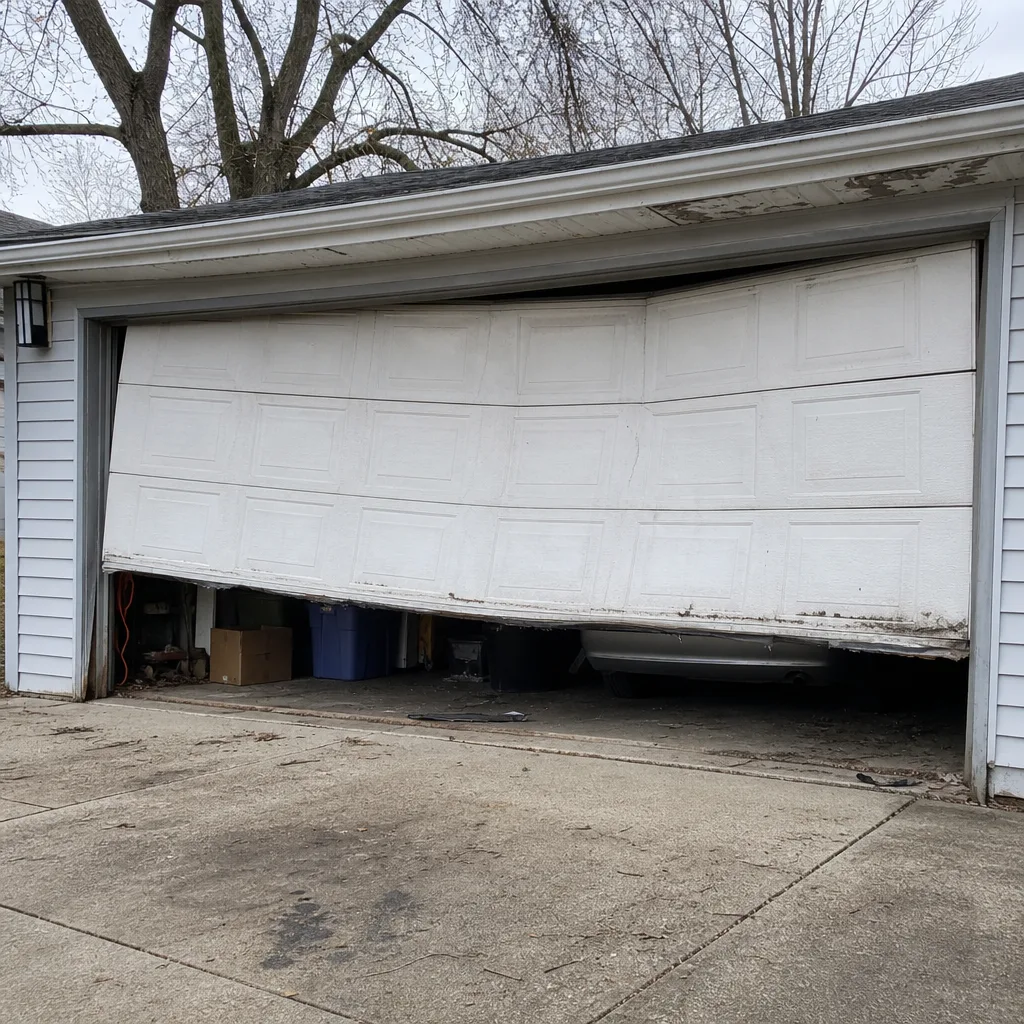
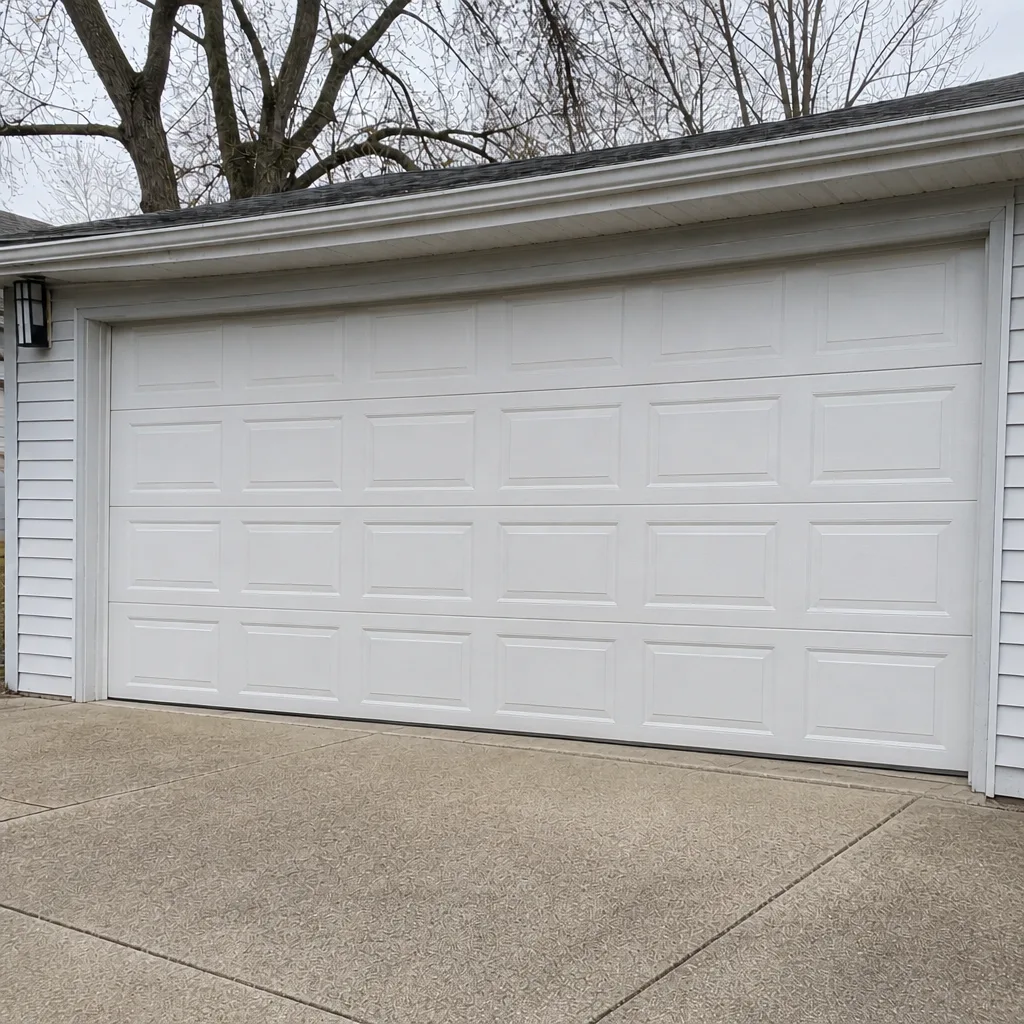
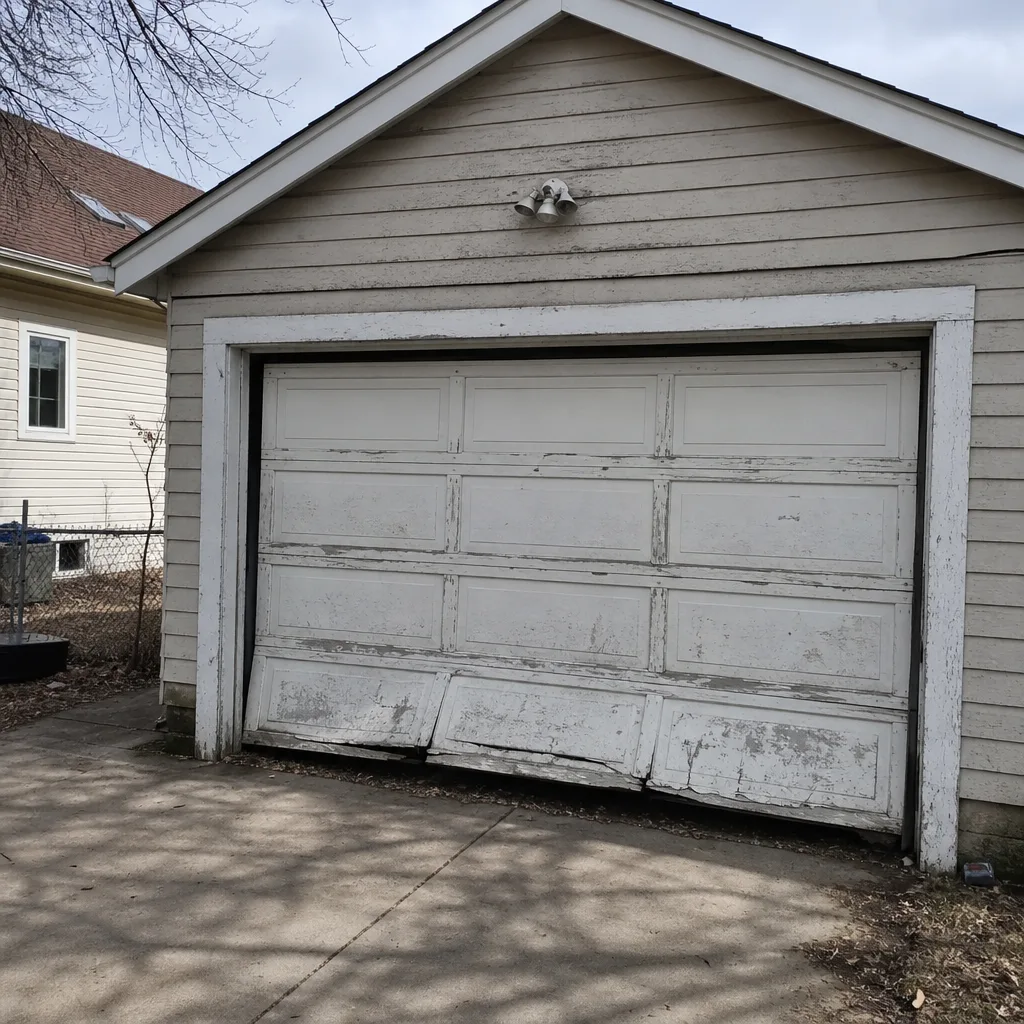
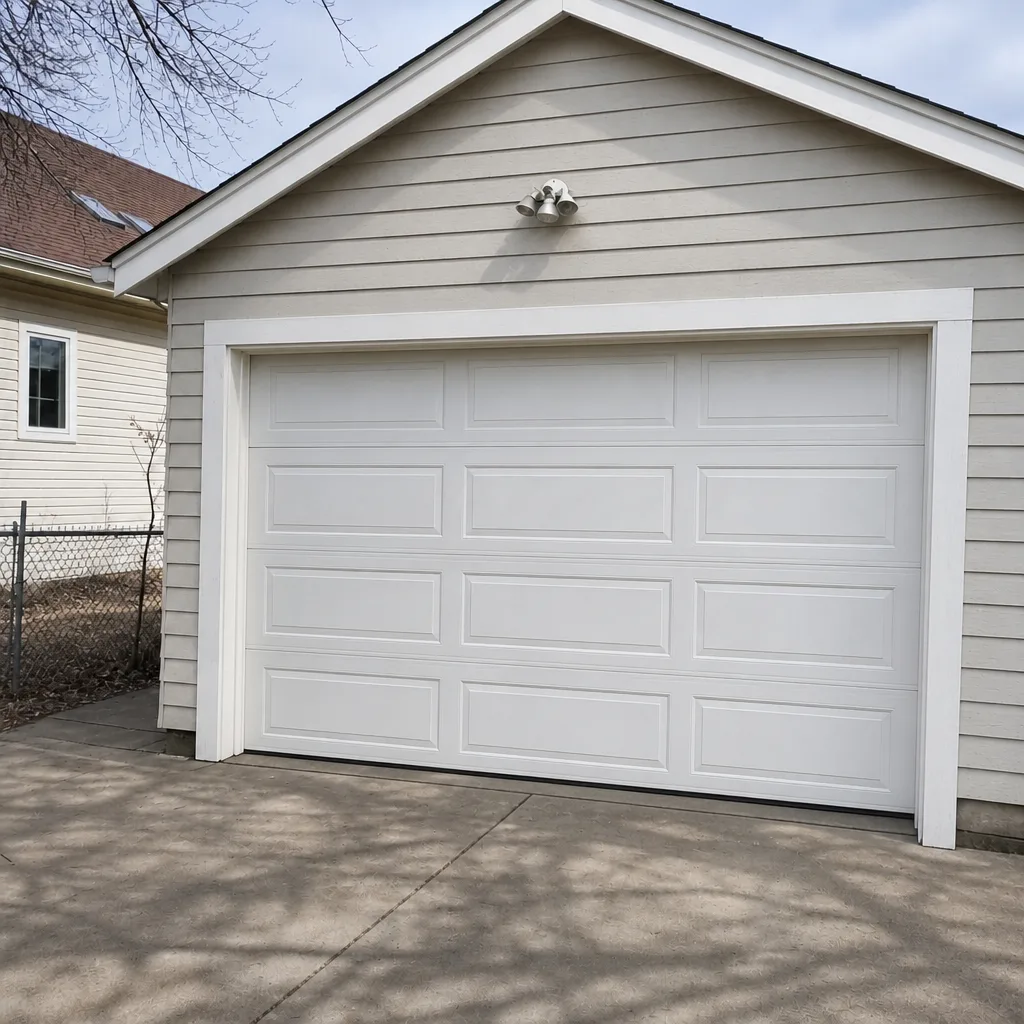
See the difference
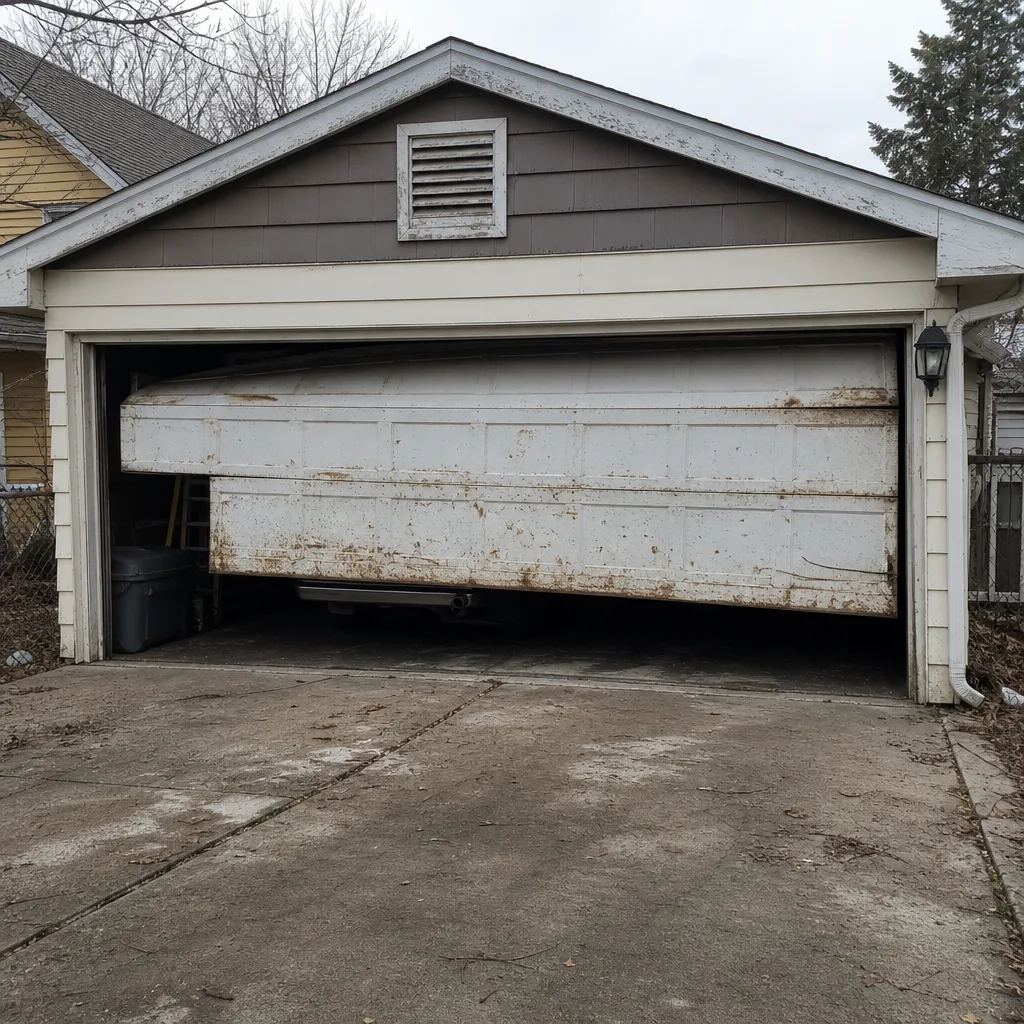 Before
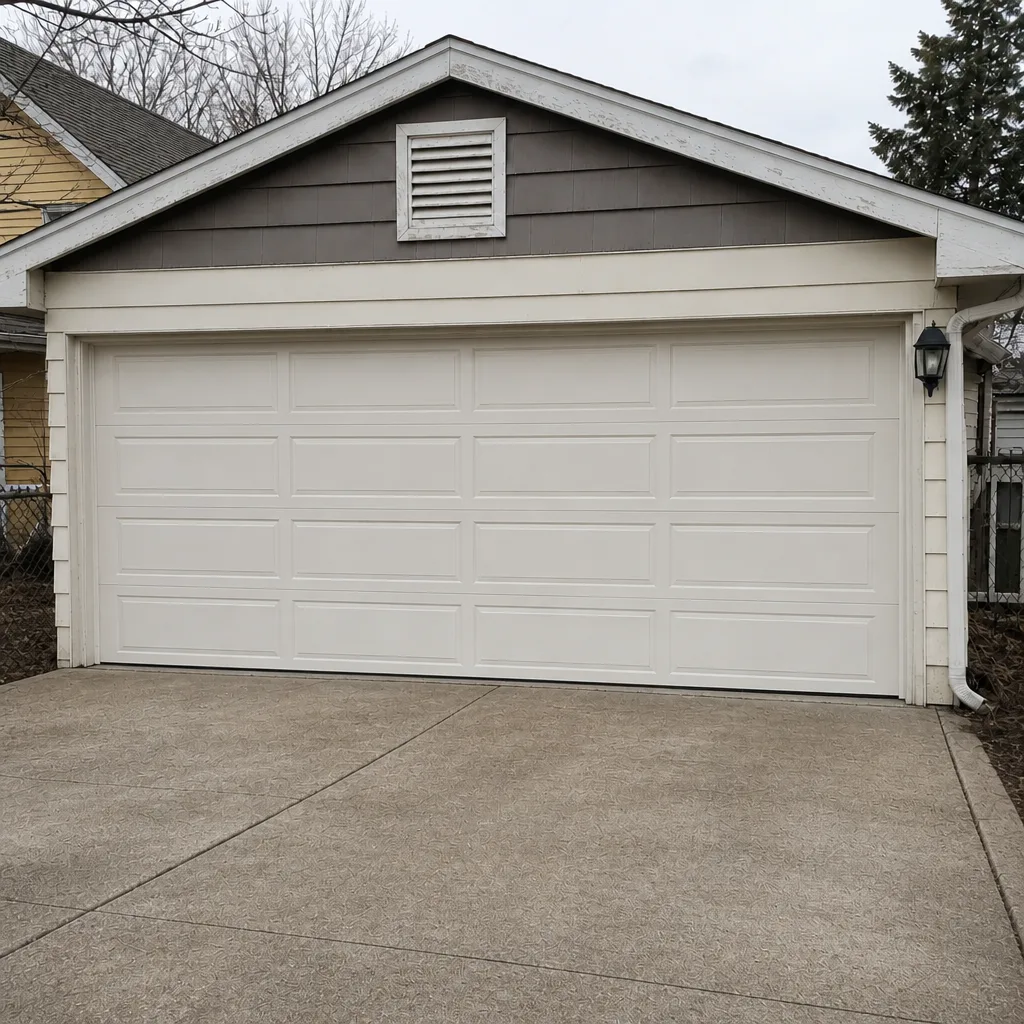 After
 Before
 After
 Before
 After
Frequently Asked Questions
Pull the red manual release cord straight down and slightly toward the door to disengage the opener’s trolley, then lift the door slowly by the bottom handle. If the door feels dangerously heavy or binds, stop and don’t force it. When power returns, re-engage the trolley with the door fully closed and run one full cycle to confirm it catches. Call (855) 213-4171 if you’re not sure whether your door is properly re-engaged.
First check whether the bottom seal has frozen to the slab – pour warm (not boiling) water along the seal line and wait a few minutes before retrying gently. Second, wipe the photo-eye lenses clean and confirm the indicator lights are solid. Third, listen to the opener: if it hums without moving the door, the issue is mechanical, not the cold. Call (855) 213-4171 for an exact diagnosis – estimates are free.
The cost depends on the specific failure – a frozen seal, a broken spring, a dead opener, or a bent track are very different jobs, and pricing is set per job by a written estimate. There’s no premium for same-day or cold-snap work; the written quote is the price. Call (855) 213-4171 for a free estimate.
No. The price you agree to on the written estimate before any work starts is the price. If the technician discovers something the estimate didn’t account for, they’ll stop and discuss the change with you before doing additional work. Call (855) 213-4171 to book a free estimate.
A spare bottom weather seal and a replacement photo-eye set that matches your opener are the two most useful inexpensive parts, because they’re the components that fail most often in Minneapolis winters. Don’t keep spare springs – they’re matched to your door’s weight and are a safety hazard if the wrong one is installed. Call (855) 213-4171 if you’re not sure which parts fit your opener.
We answer 24/7. A call outside dispatch hours is booked into the next opening, Sunday through Friday, 7am to 7pm. If you have a failed door or opener, call (855) 213-4171 and we’ll get you on the schedule.
The Bottom Line
Garage door emergencies in Minneapolis follow a pattern, and the pattern is mostly predictable. Cold snaps freeze seals to slabs. Wind and ice storms bend tracks. Power outages force you to disengage the opener by hand. Each of these has a prep step that takes minutes – treat the seal in October, do the five-minute post-storm walkaround, learn the manual release sequence before you need it, keep an emergency card in the garage, and stock a couple of inexpensive parts. Together they turn “the door is broken and I don’t know what to do” into “I know what this is and who to call.” And when the fix is beyond a homeowner’s scope – springs, tracks, openers, or anything you’re not sure about – call a professional. We’ll diagnose it correctly the first time.
Parkway Garage Door Repair provides garage door repair, opener repair, and new installation across Minneapolis. Call (855) 213-4171 for a free estimate. We answer 24/7. Fast dispatch from 7am to 7pm, Sunday through Friday.
Written by the team at Parkway Garage Door Repair.